

Flying dress photography is a captivating genre that combines elements of fashion, creativity, and illusion. For aspiring photographers eager to explore this enchanting realm, diving into the world of levitation imagery can seem daunting. However, with the right techniques and guidance, capturing stunning flying dress shots is within reach. In this article, we’ll provide practical advice and tips for beginners looking to embark on their journey into flying dress photography, covering everything from equipment selection to post-processing techniques.
Choosing the Right Equipment:
When it comes to equipment for flying dress photography, you don’t need to break the bank. A DSLR or mirrorless camera with manual settings will suffice. However, having a sturdy tripod is essential for stability, especially if you’re shooting in low light conditions or using slower shutter speeds. Additionally, consider investing in a remote shutter release to minimize camera shake and ensure precise timing during your shoots.
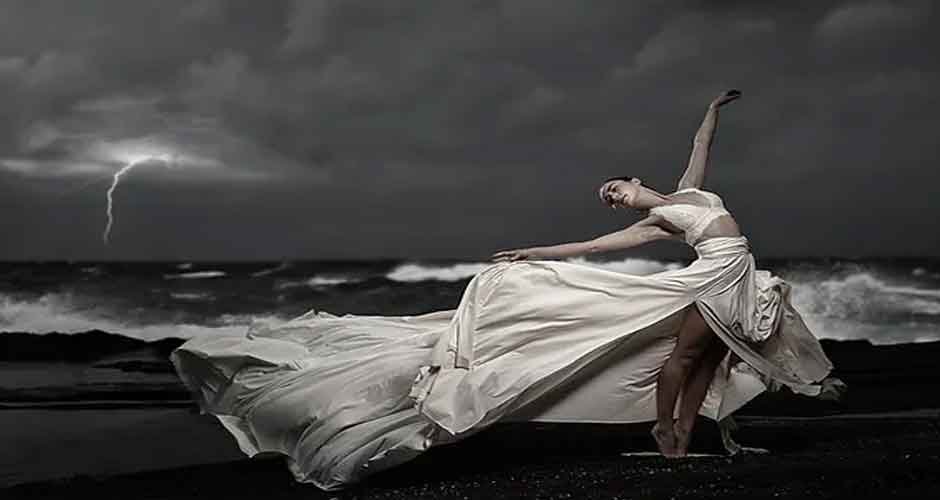
Selecting the Perfect Dress:
The choice of dress plays a crucial role in flying dress photography. Opt for garments with lightweight, flowy fabrics that will catch the air and create dynamic movement. Solid colors or subtle patterns work best to avoid distractions and keep the focus on the levitating effect. Experiment with different styles and lengths to see what works best for the look you want to achieve.
Mastering the Technique:
Achieving the illusion of levitation requires careful planning and execution. Start by scouting for locations with ample space and minimal distractions. Once on-site, work with your model to choreograph graceful movements that mimic the appearance of floating. Utilize props or hidden supports to assist with balance and stability, ensuring that the dress appears suspended in mid-air. Patience and persistence are key; don’t be afraid to experiment and try different angles and poses until you capture the perfect shot.
Lighting for Impact:
Lighting plays a crucial role in flying dress photography, setting the mood and enhancing the overall aesthetic of your images. When shooting outdoors, take advantage of natural light during the golden hour for soft, flattering illumination. If shooting indoors, experiment with a combination of ambient light and artificial lighting to create depth and dimension in your shots. Consider using off-camera flash or continuous lighting for added control and creativity.
Post-Processing Magic:
Post-processing is where you can truly elevate your flying dress photos to the next level. Experiment with editing software such as Adobe Photoshop or Lightroom to fine-tune colors, contrast, and composition. Focus on enhancing the levitation effect by carefully blending elements, adjusting shadows and highlights, and adding subtle touches of magic through creative editing techniques. Remember, moderation is key; aim for a polished finish that enhances the natural beauty of your images without going overboard.
Practice, Patience, and Perseverance:
As with any form of photography, mastering flying dress photography takes time and practice. Don’t be discouraged by initial setbacks or imperfect shots. Embrace the learning process, and use each shoot as an opportunity to refine your skills and experiment with new ideas. Seek inspiration from other photographers in the genre, but don’t be afraid to carve out your own unique style and aesthetic. With dedication, patience, and a touch of creativity, you’ll soon be capturing stunning flying dress photos that leave viewers spellbound.
Flying dress photography offers a unique blend of creativity, imagination, and technical skill, making it an exciting genre for photographers of all levels. By following these tips and tricks, beginners can embark on their own journey into the magical world of levitation imagery with confidence and enthusiasm. Remember to stay patient, stay creative, and above all, have fun as you explore the limitless possibilities of flying dress photography.
Comments are closed.